Account Setup
Join the Reflexio waitlist, accept an invitation, create an account, and finish the first portal setup.
Account Setup
Hosted Enterprise
Reflexio Enterprise access is invite-gated. Join the waitlist first. After your access is approved, use the invitation email to create an account with your invitation code.
1. Join the Waitlist
Go to https://www.reflexio.ai/register. If you do not have an invitation code yet, choose Join the waitlist from the registration page.
Use the same email address you want associated with your Reflexio organization. The Reflexio team will email you when access is ready.
2. Accept the Invitation
When your waitlist request is approved, you will receive an invitation email. Click Set up your account from that email.
Invitation links expire after 30 days. If your link expires, contact Reflexio support or request a fresh invitation.
3. Create Your Account
The invitation link opens the registration page with an invitation code flow. Enter the invitation code, your email address, and a password, then click Create Account.
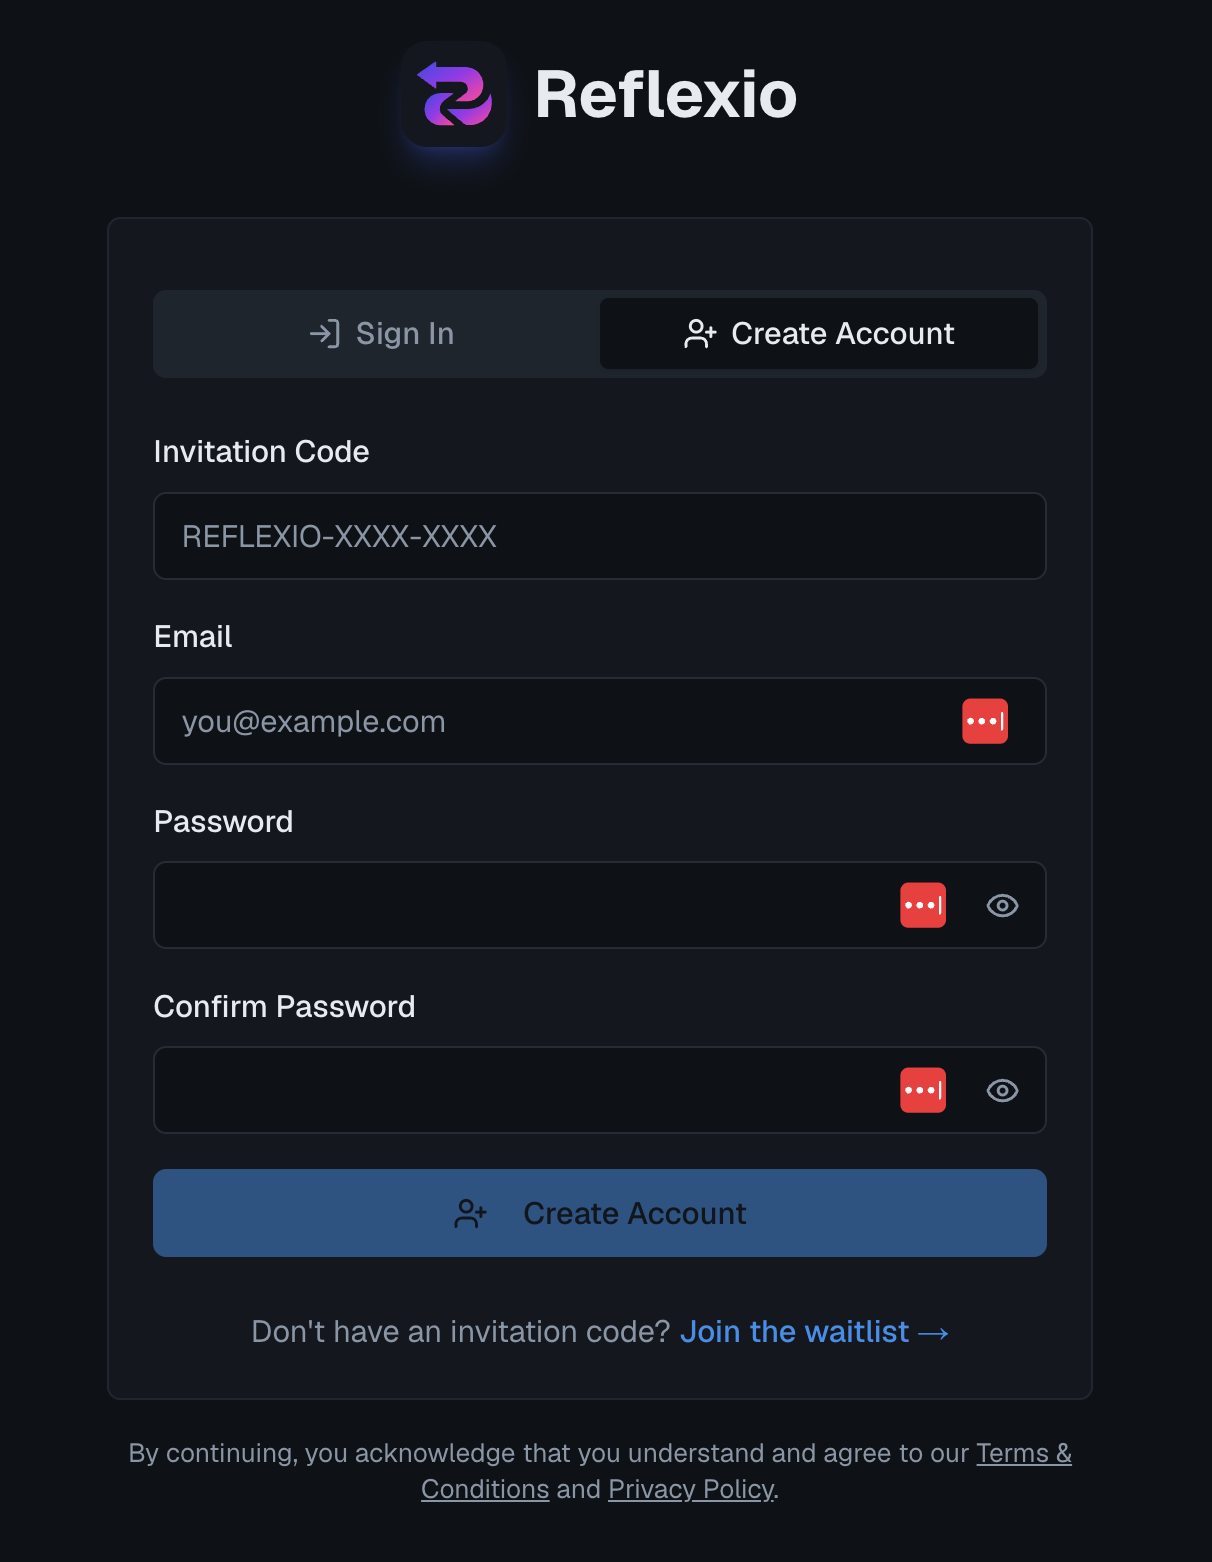
After account creation, sign in to the Reflexio portal.
4. Finish the First Portal Setup
Hosted accounts use Managed by Reflexio storage by default, so you do not need Supabase credentials for the standard Enterprise path.
Before integrating your agent, complete these portal steps:
- Open the Account page and create an API key. Store it securely; Reflexio shows the full key only once.
- Open Settings and add the LLM provider key Reflexio should use for extraction and evaluation.
- Review the default profile and playbook extraction settings. Customize prompts only if your domain needs narrower extraction behavior.
- Save the configuration.
See the Configuration Guide for extractor, playbook, and evaluation options.
Optional: Bring Your Own Supabase
Hosted accounts start with managed Reflexio storage. Only collect Supabase credentials if your team wants to use its own Supabase project.
Supabase URL
Click Connect at the top of your Supabase dashboard, select the App Frameworks tab, and copy the NEXT_PUBLIC_SUPABASE_URL value.
Format: https://<project-id>.supabase.co

Database URL (for migrations)
In the same Connect dialog, select the ORMs tab and copy the DATABASE_URL value (port 6543 for connection pooling).

Supabase Anon Key
Navigate to Project Settings → API Keys, select the Legacy anon, service_role API keys tab, and copy the anon public key.

Configure Storage
To switch from managed Reflexio storage to your own Supabase project:
- Navigate to the Settings page
- Under Storage Configuration, choose Use my own Supabase
- Enter your Supabase URL, Supabase anon key, and database URL
- Save the configuration

Next Steps
- Hosted Enterprise Get Started — Connect your agent, publish an interaction, and retrieve context
- Configuration Guide — Advanced extractor settings
- Web Portal Usage — Explore all portal features